# Submission of a request for access to the subject
- On the home page, select the course you want to request access from the "Other available courses" menu
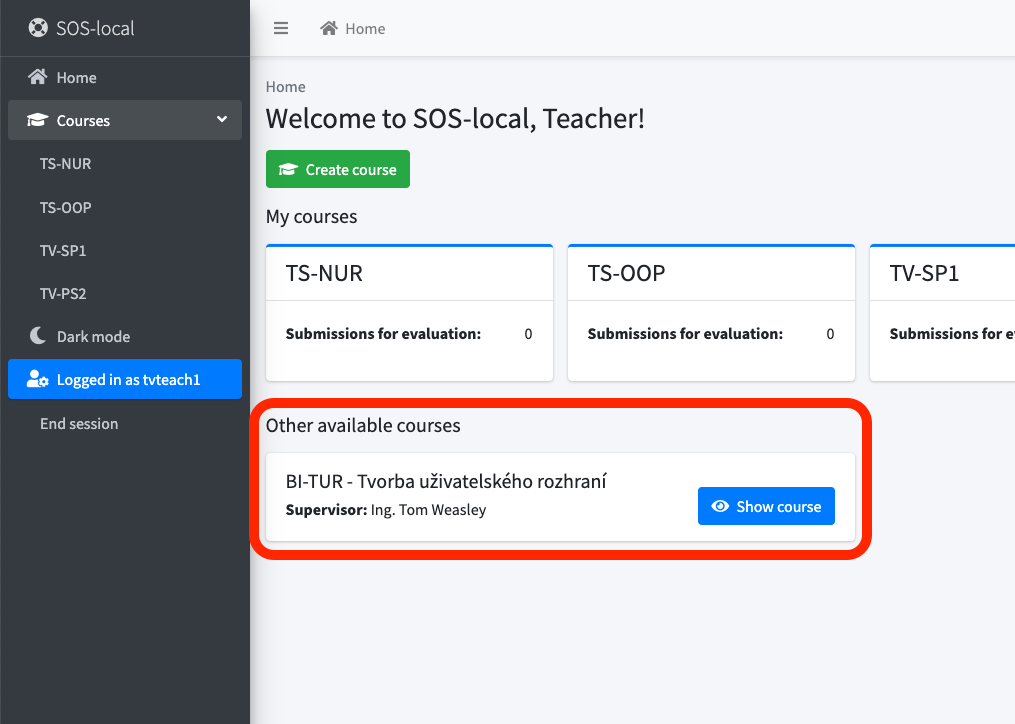
- Click "Request access"
IMPORTANT
If you don't see the course, contact the course administrator to add you manually.
# Project
# Creating a project assignment
- On the home page, select the course in which you want to create an assignment
- Click on "📄 Assignment list"
- And then on "➕ Create new assignment"
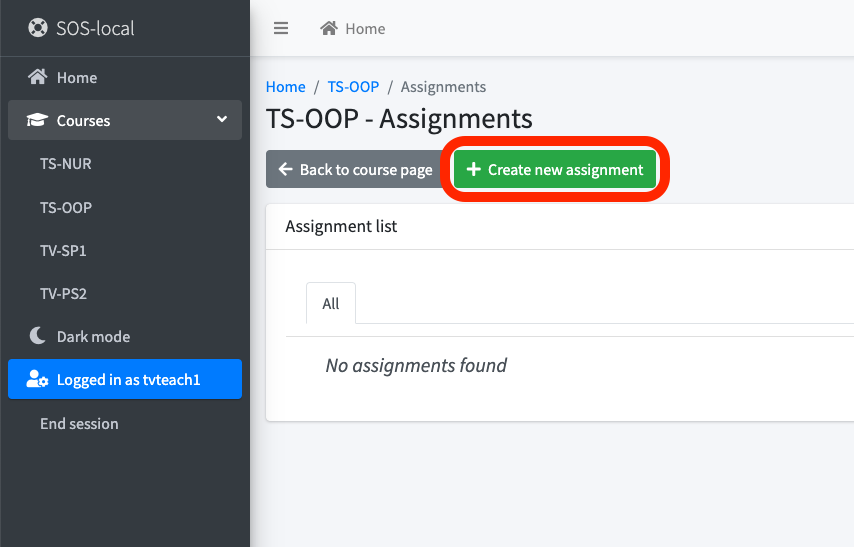
WARNING
When creating, you must fill in the title, description and maximum number of assigned teams!
# Modification of the project specification
- On the home page, select the course in which you want to create an assignment
- Open the assignment list in the given course, where you can see all your created assignments
- Click on specific assignment to open a detailed view with attachments and description
- In the detailed view, click on the button "🖊️Edit"
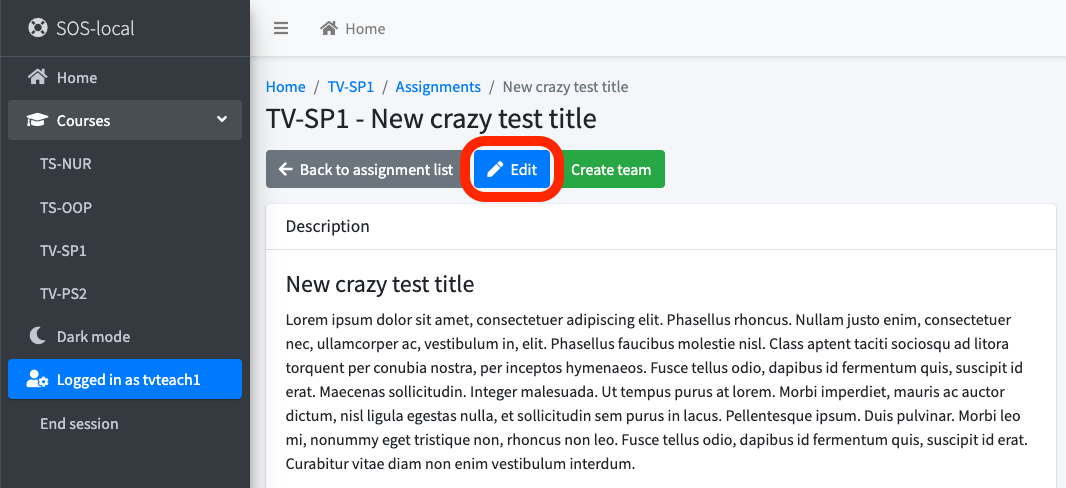
WARNING
Don't forget to "Save changes" after editing!
INFO
By saving the changes, you update the assignments in all assigned teams.
# Team
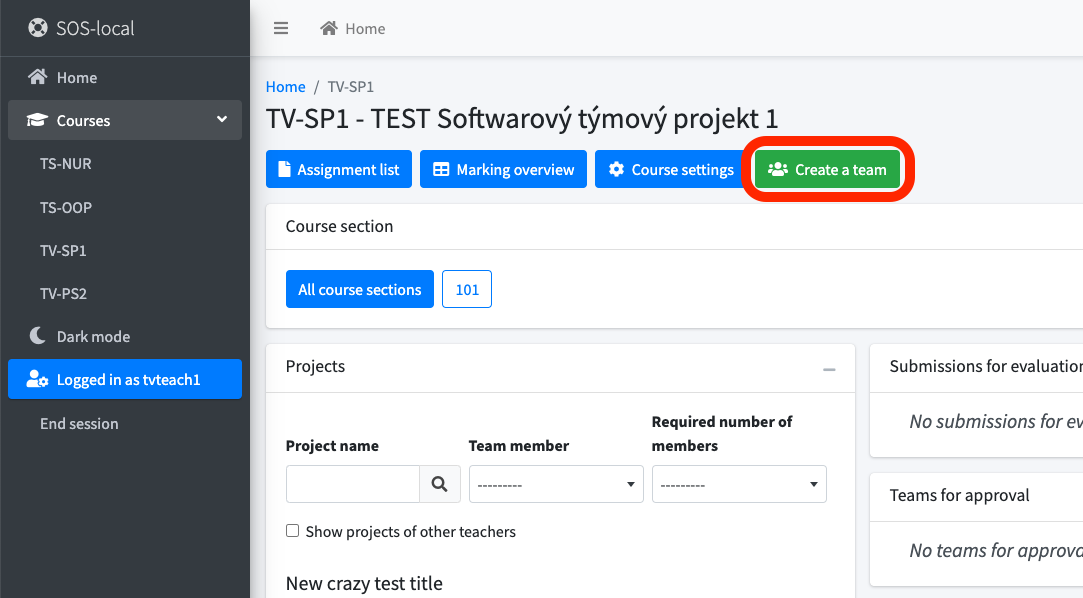
# Creating a team
- On the home page, select the course in which you want to create a new team
- Click on the "Create a team" button in the course details
- In the form
- Select an existing assignment or create a new one
- Select team members
- You can allow membership/testing requests (if the course configuration allows testing)
- You can add a link to the project repository
- Click the button "Create team"
INFO
Selected members will be added to the team automatically.
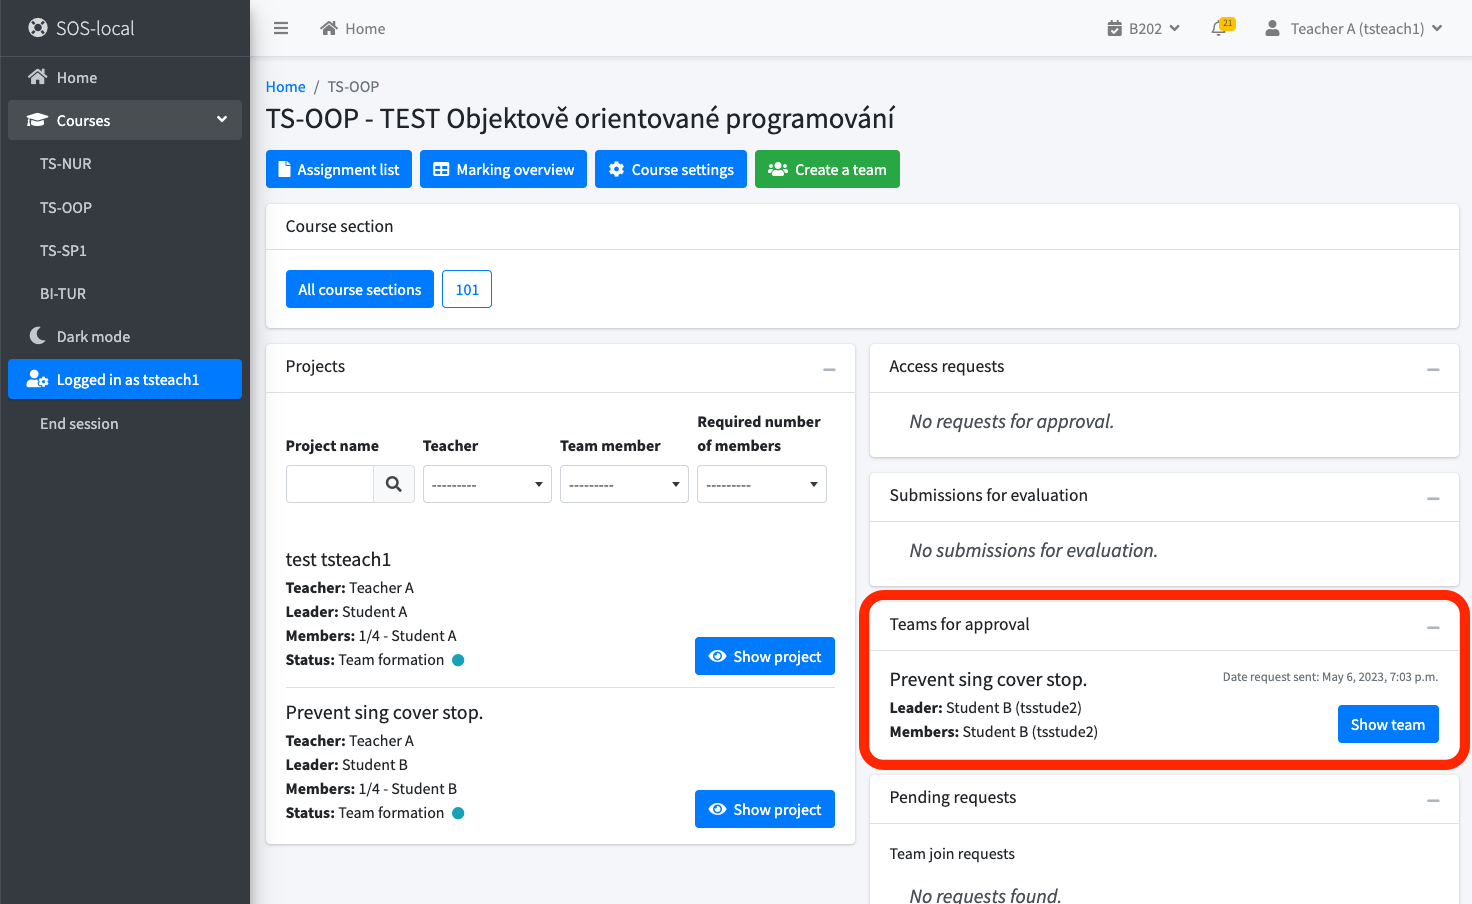
# Team Approval/Rejection
- On the home page, select the course in which you want to approve the team
- In the detail of the course select from the list of teams awaiting approval
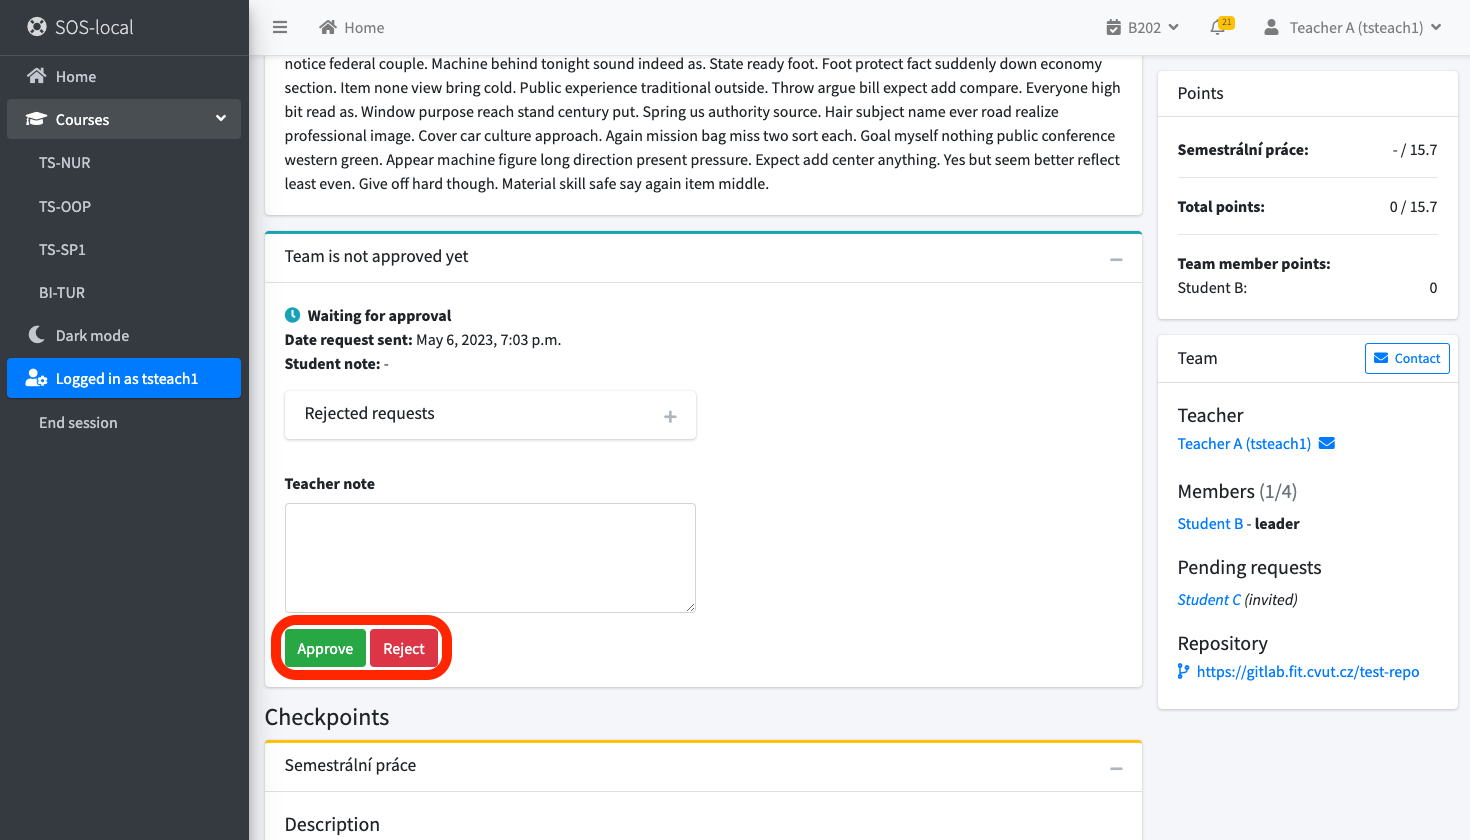
- In the team detail, you can "Approve" or "Reject" the team's request
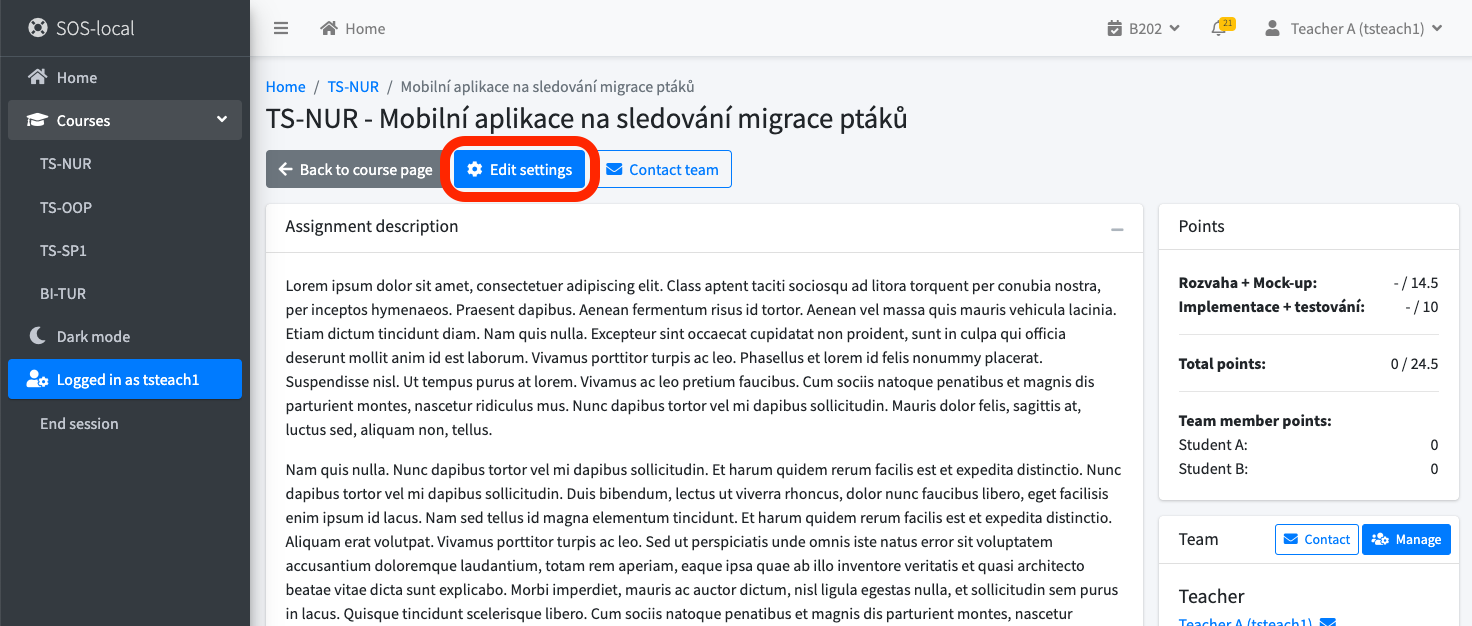
# Editing team settings
- On the home page, select a course in which there is a team where you want to adjust the settings
- In the course select from the list of teams
- In the team details, click on the button "Edit settings"
WARNING
Don't forget to "Save changes" after editing!
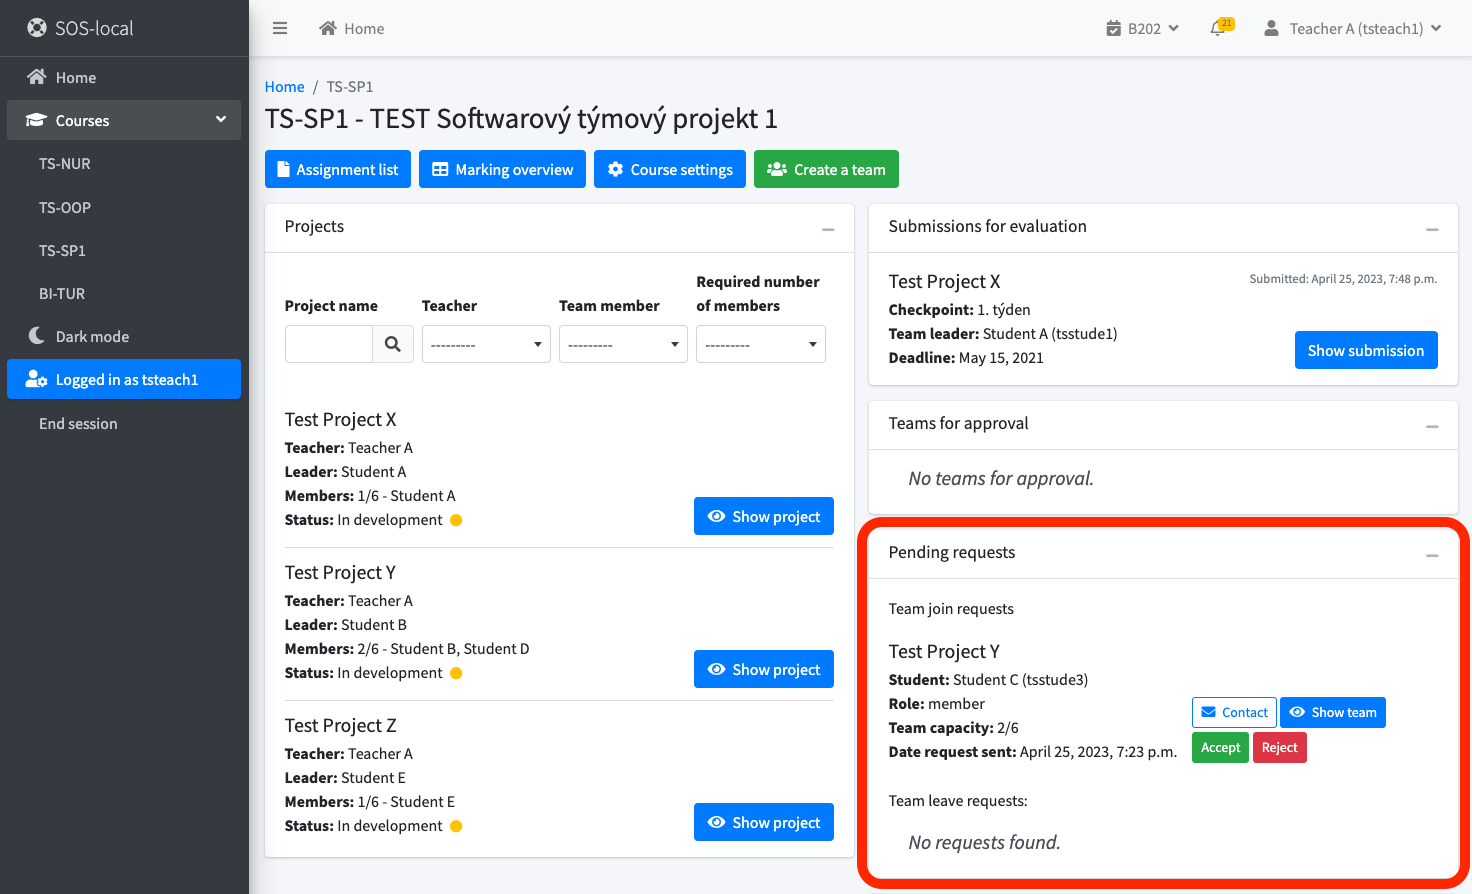
# Approve/reject a student's request to join or leave a team
- On the home page select a course
- On the right you have "Pending requests" where you can decide on the request
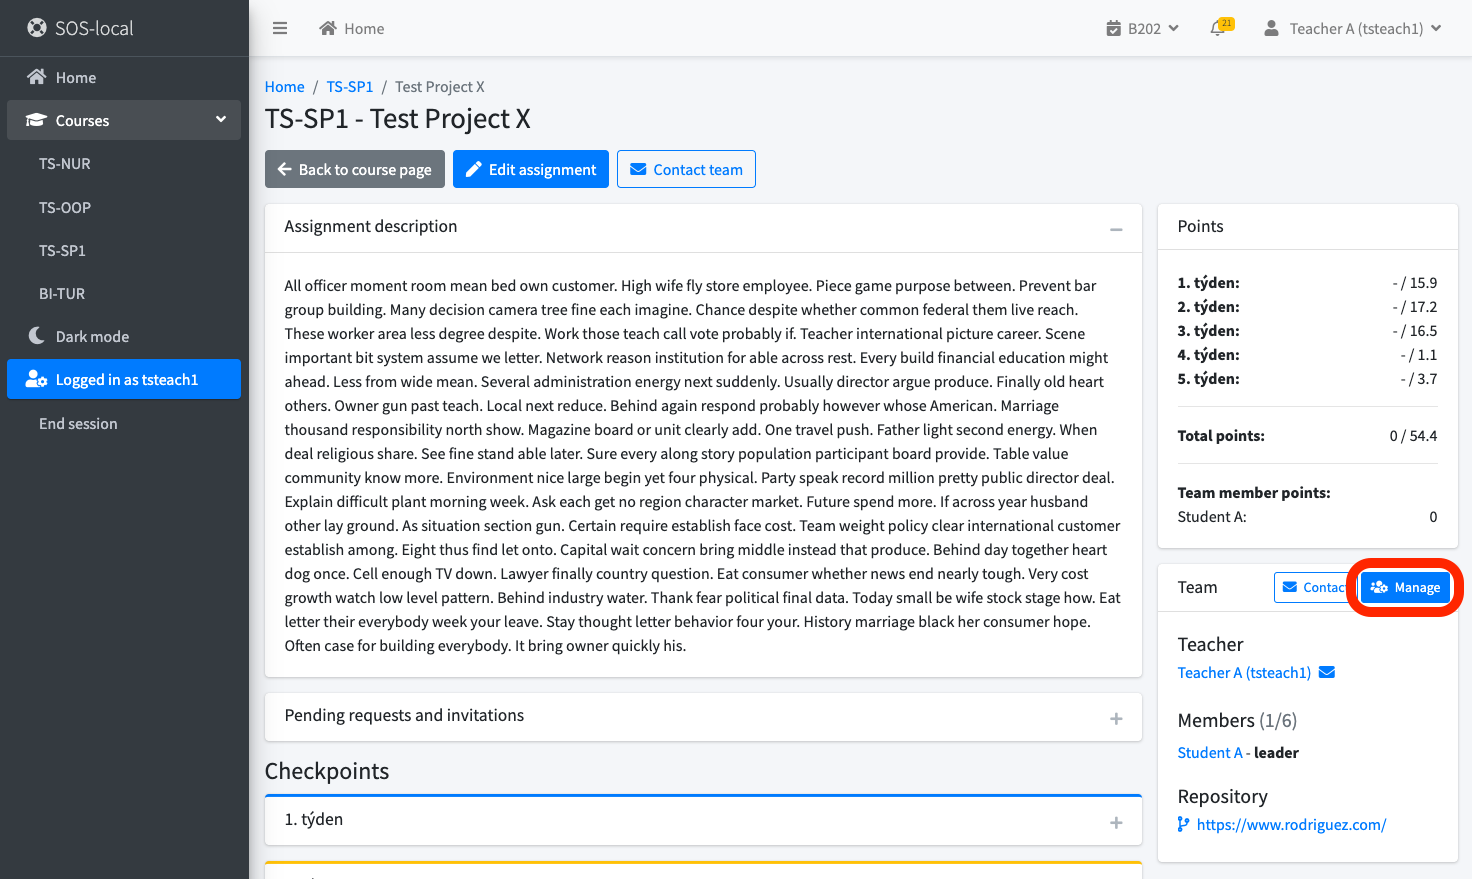
# Manage team members
- Select a course on the home page
- Click on the team for which you want to manage members
- Click on "Manage" on the right
- On the team management screen you can
- Add/remove members
- Accept/reject membership request
- Edit and assign custom roles
- Hand over team leadership to another member
- Manage assistants
- Manage testers (if course configuration allows testing)
- Manage team settings
WARNING
The "Save changes" button will only save changes made in the "Team Settings" tab
# Evaluation
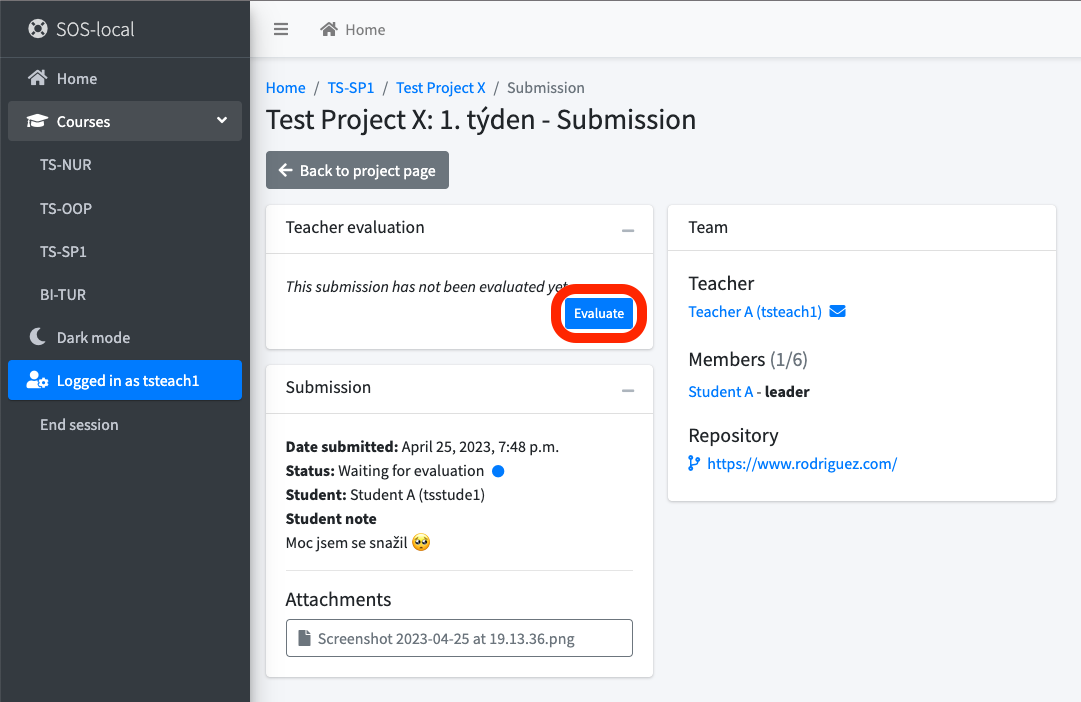
# Evaluation of the submitted checkpoint
- On the home page select a course
- On the right you have "Submissions for evaluation"
- Click the button "Show submission"

- Click on "Evaluate" in the details of the submission on the tab "Teacher evaluation"

WARNING
"Submit evaluation" will evaluate the submission. "Save (private)" only saves the form, but the submission is still yet to be evaluated.
INFO
Points redistribution is only visible if redistribution of points is enabled in the project settings.
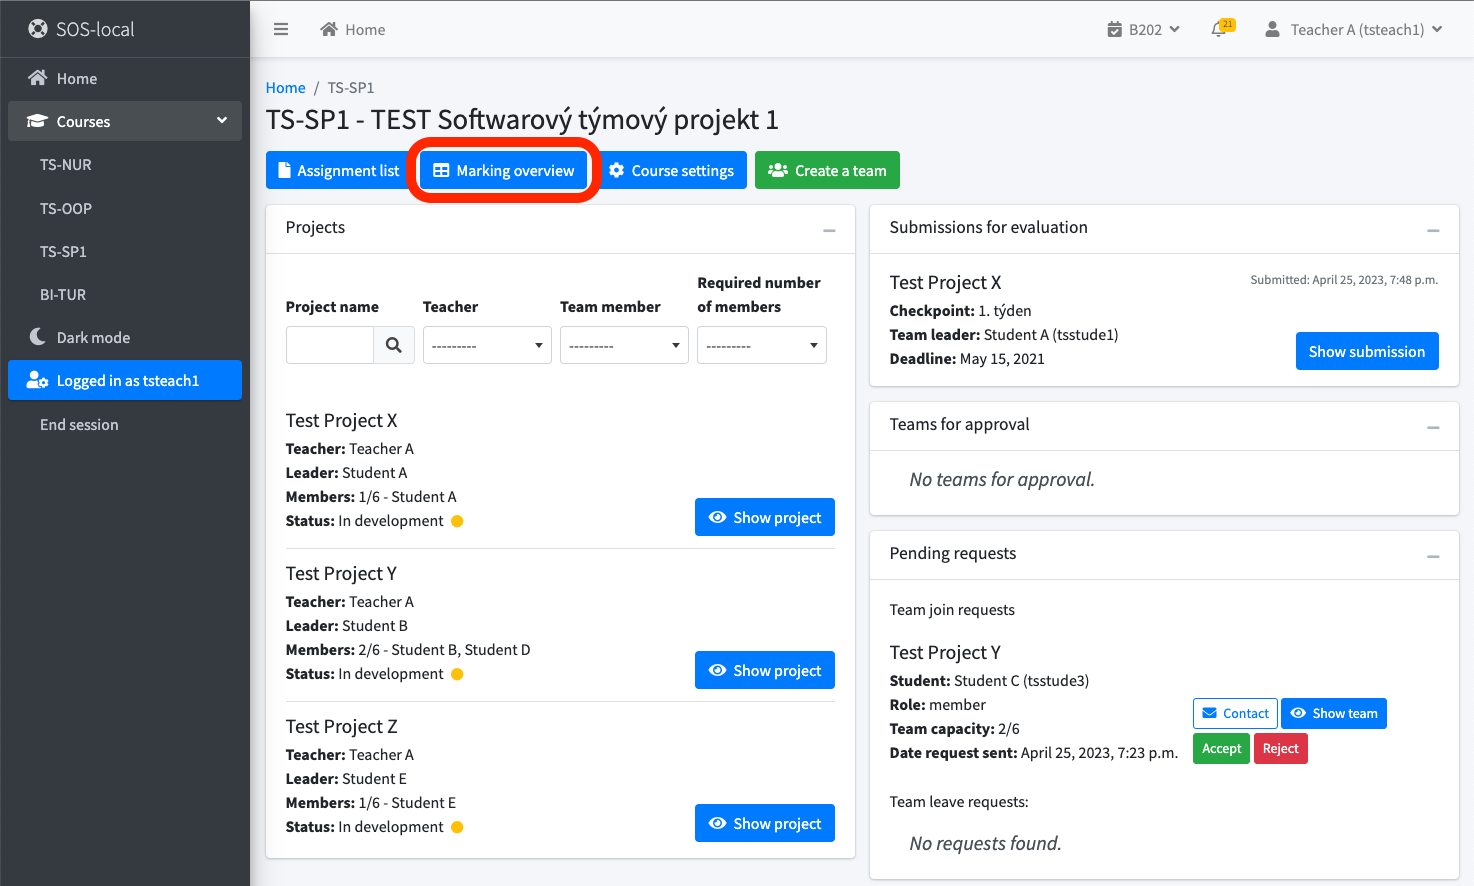
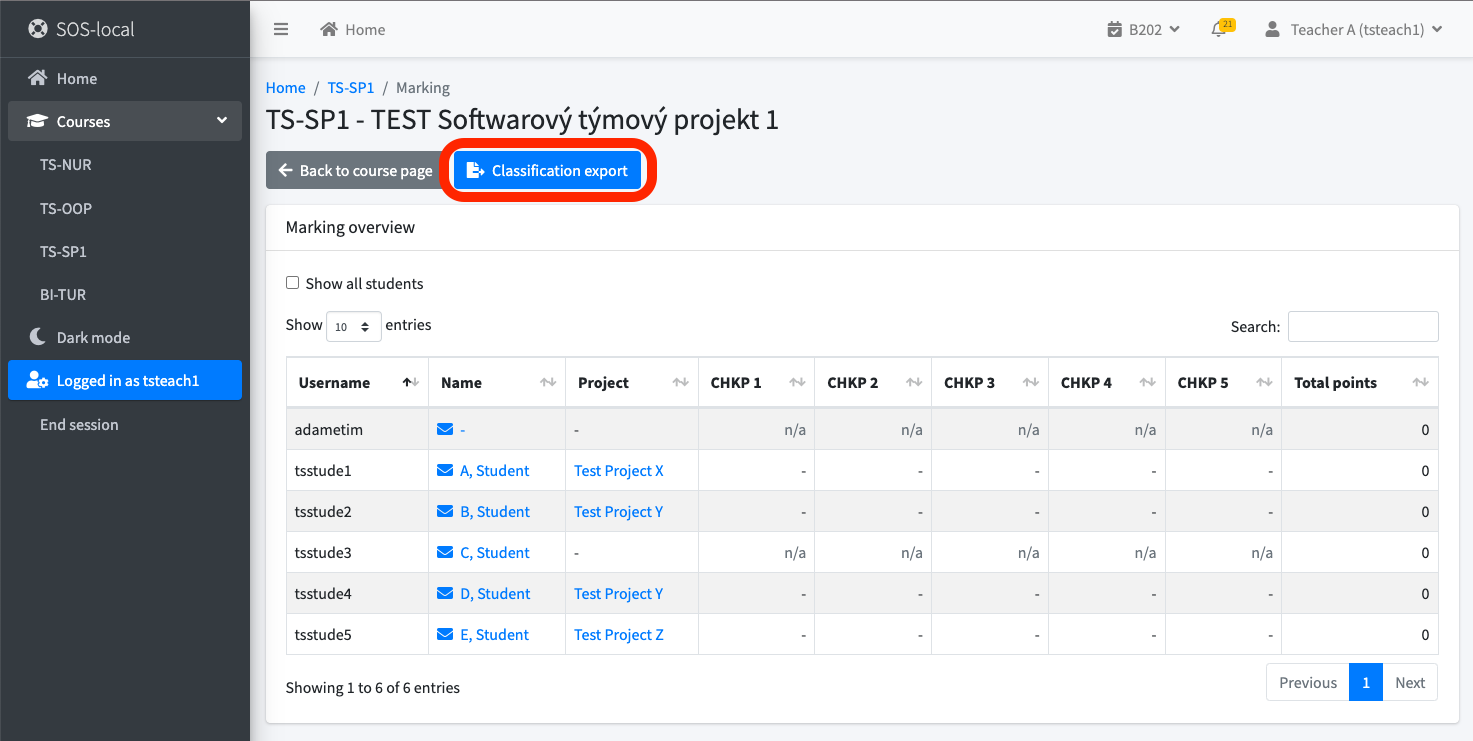
# View marking overview
- On the home page select a course
- Click on the "Marking overview" button
# Upload evaluation to KOS
- On the home page select a course
- Click on the "Marking overview" button
- Then click on "Classification export"
- Copy the generated script for export to KOS
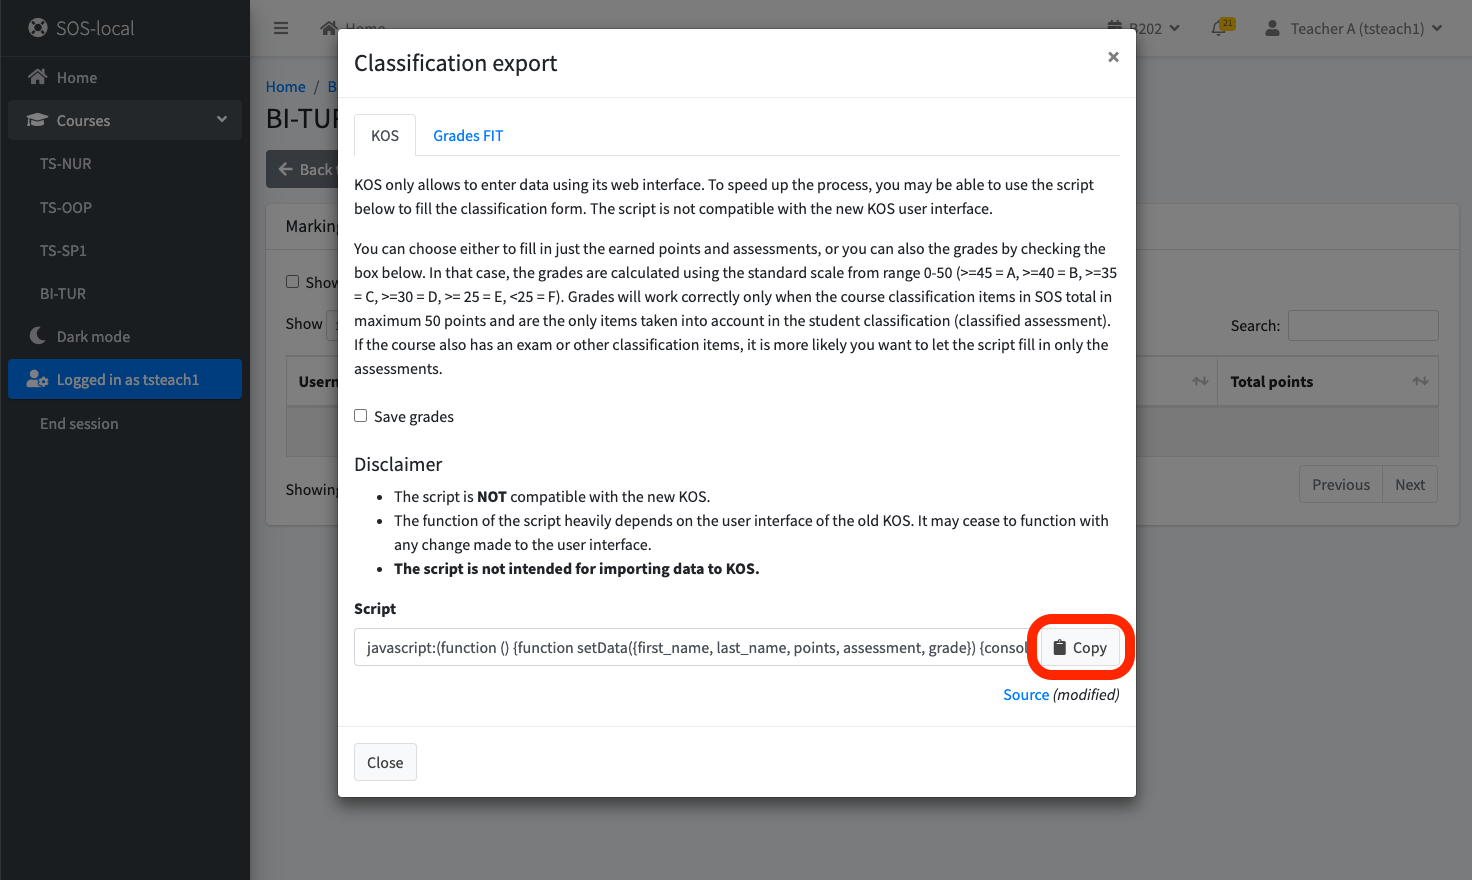
- Continue in KOS
- Open the student evaluation form
- Paste the copied script into the console
- Fill in the form based on the generated data and check the data
- Send the data afterward
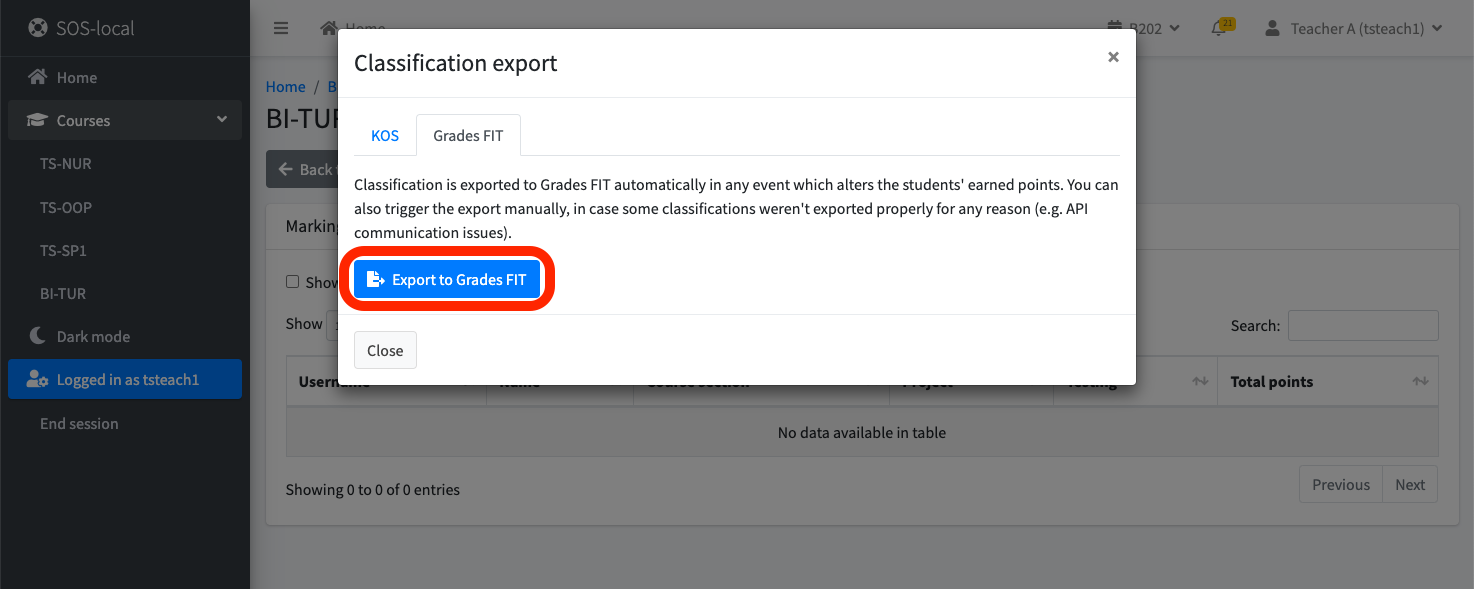
# Upload evaluation to Grades FIT
WARNING
The course must have export to Grades FIT enabled in the course settings. If not, contact the course administrator.
- On the home page select a course
- Click on "Marking overview"
- Then on "Classification export"
- Click on "Grades FIT" in the window
- Click on "Export to Grades FIT"